Setting up ReactJS on an Ubuntu or MacOS machine is straightforward thanks to npm or Node Package Manager. npm gives us access to thousands of available NodeJS packages and a CLI for interacting with these packages. Once npm is setup, we can then proceed to install create-react-app utility for create React applications. Afterwards, we can watch how to start creating a ReactJS app.
Let's take a look at the following steps for a detailed guide.
1) Install NPM
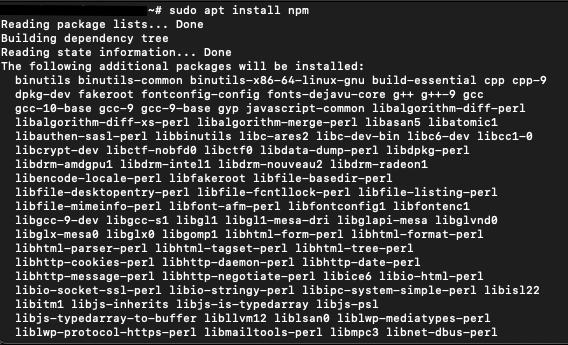
To install NPM, all we have to do is execute the following command:
sudo apt install npm
The installation may take a while depending on your network speed but once it's done, you can verify that the installation is successful by executing the following commands:
# npm --version
6.14.4
# node --version
v10.19.0
At the time of writing, npm's latest version is 6.14.4 while 10.19.0 is the latest version of node. If both commands display the latest version of node and npm, we can consider this part successful and we can now proceed to the next step - installation of create-react-app utility.
2) Install Create-React-App Utility
With the create-react-app utility, it will be easier for us to create basic ReactJS projects. Installing this utility is as simple as the previous steps. We just need to run the following command:
sudo npm -g install create-react-appOnce done, we can verify the installation using the following command:
create-react-app --versionSimilar to the previous step, this should display the latest React version.
# create-react-app --version
4.0.3
3) Running our First Project
Since we already have our create-react-app utility, creating a project can be done in just one command.
But before we do that, switch to a directory where the project workspace should reside. For my case, it will be /darwin-development/workspaces/tests/
cd /darwin-development/workspaces/tests/Once we are in the target directory, we can now create our first project by the following command:
create-react-app first-sample-appThis command may take a couple of minutes to complete. Once it is done, we can expect a success message and some of the first steps we can do with our project.

As the prompt says, we need to be inside this directory. So let's switch to that and run the project.
cd first-sample-app
npm start
This should display a message like below when it's ready.

Lastly, we can view the website by accessing http://localhost:3000. Normally, 3000 is the default port of ReactJS. If another process is using the same port, you will be asked to enter a different port of your preference. Now, let's start visiting this page:

A spinning ReactJS should be displayed when you load the URL on your browser.
Note: If you are using a remote server, you may have to expose the port you are using and you may need to replace localhost with your domain name or the IP address of your server.
Conclusion
Creating the base project of ReactJS on any Ubuntu or macOS machine can be completed within a couple of minutes. Thanks to npm and create-react-app tools, all the necessary packages needed are automatically prepared with just few simple commands.
Just like the success message of ReactJS, I'm leaving you with this: Happy Hacking!
